

I don't know how to tell when your ignition coil is on the way out. It may start with power decreases as mine did. But it will eventually fail. You could be procrastinator and wait like me, then end up doing it at the most inopportune time possible. My advice would be to do it when you do the spark plugs and wires. It's a $30 dollar part, and with as much of a pain as the engine cover is to remove, you might as well do it then anyway.
Start by removing the engine cover, as shown in one of my previous posts, found here: http://www.astrosafari.com/viewtopic.php?f=9&t=4079
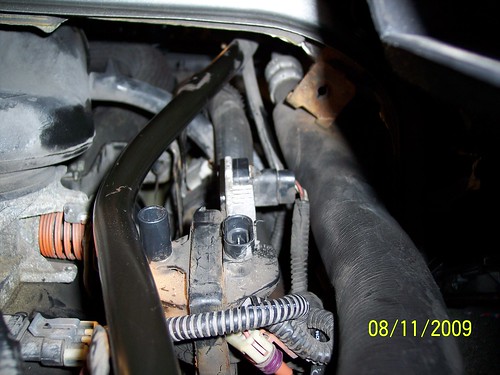
Once you have that off, your ignition coil is located here:
![Image]()
It looks inaccessible, but it isn't. The ignition coil is kind of tucked in there, but it can be gotten out. The ignition coil is contained in a bracket that has another component attached, and is bolted to top of the motor. There may be another bracket holding it down-we'll cover that later.
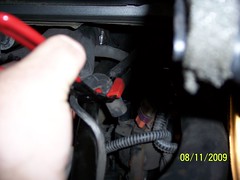
Start by removing the insulated wire, as shown (note: replacement wire should be obtained from a spark plug wire kit.)
![Image]()
Next remove the wire harness on the other side of the ignition coil.
![Image]()
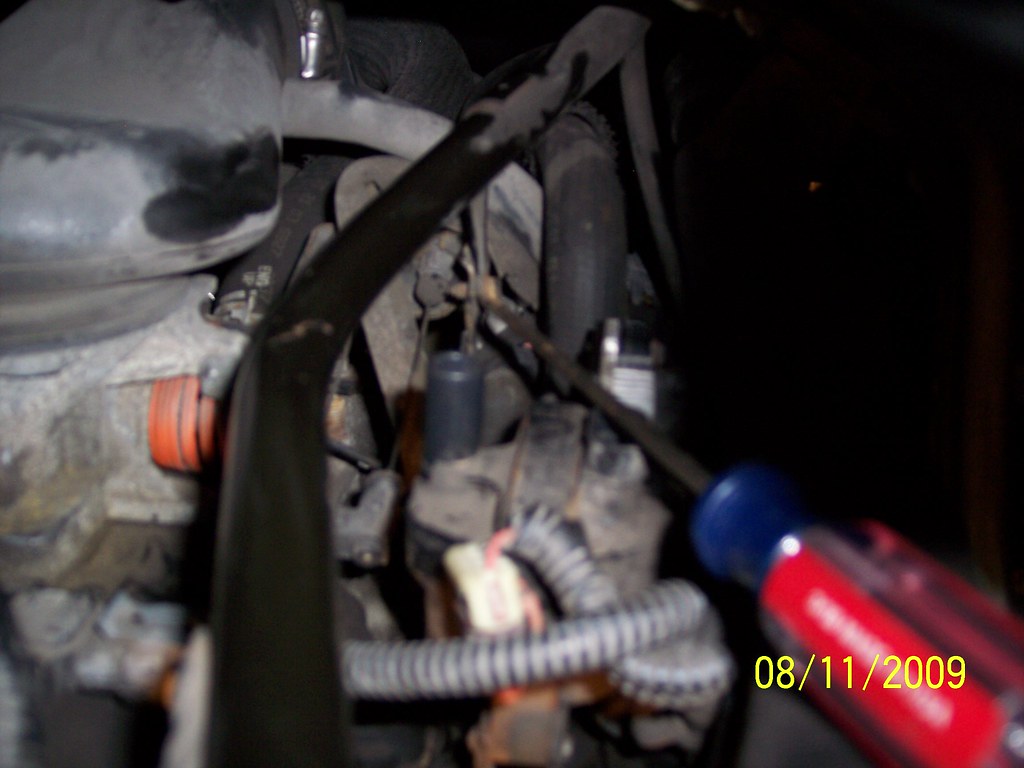
The ignition coil bracket is held on by 2 - 10 mm bolts. To remove them you'll need a deep well 3/8" drive or 1/4" drive socket with one or two short to medium sized extensions. I could not give good pictures of these bolts. They are in a straight line going from the passenger compartment toward the front of the van. Note the location of the one closest to you by the position of the socket and extensions. If you look closely, just at the edge of the ignition coil shadow you'll see the second one appearing to be under the coil-it's not, it's just on the other side, toward the front of the van...
TIP: Use a telescoping magnet at the bottom of your socket to catch the bolts as they come out-if you don't know what I'm talking about, it's something like this one: http://shop.advanceautoparts.com/we...s/stores/servlet/product_TELESCOPING-MAGNET-Ampro_9021426-P_N3499_T|GRP2083____
Alternatively, dip your socket in all purpose grease before slipping it over the bolts. If your lucky, the bolts will stick inside when you pull the socket out.
![Image]()
If you're incredibly unlucky-I was-there will be a bracket still holding it. If not, scroll down to the part where it comes out.
If you are so unlucky, remove the air intake assembly, as shown in one of my previous posts, found here: http://www.astrosafari.com/viewtopic.php?f=9&t=1142
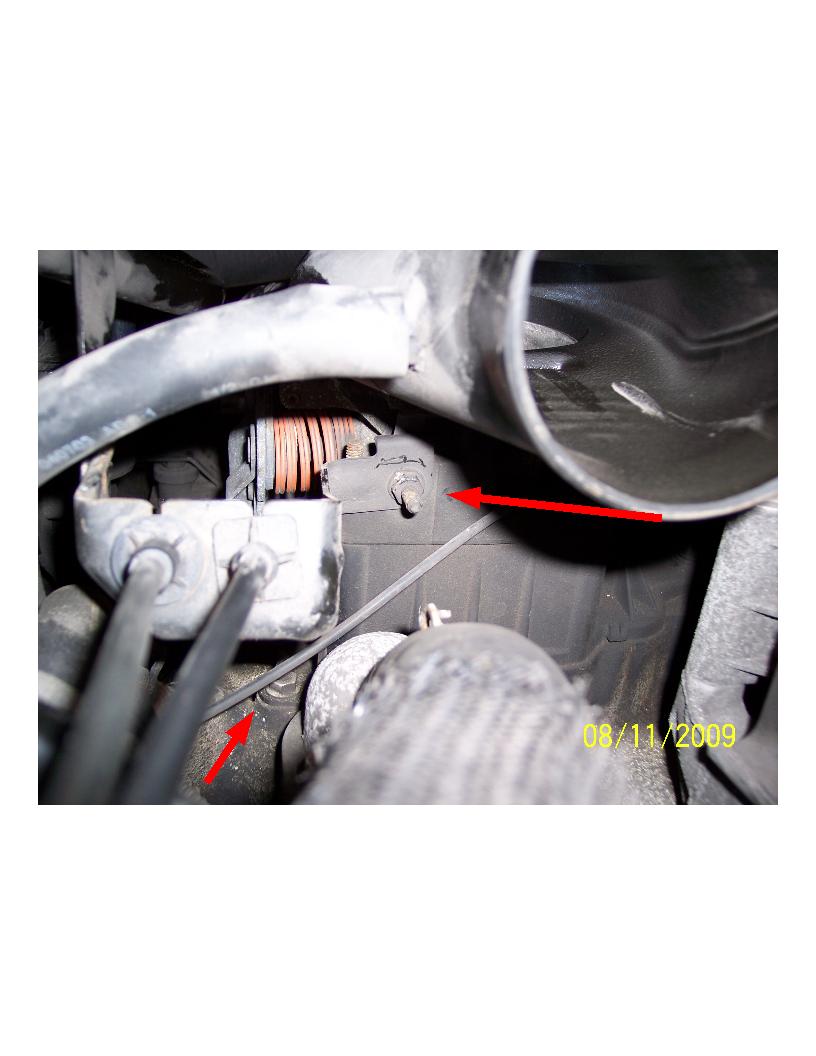
Below are photos of that bracket I was telling you about (taken from inside and outside the van. There are two 10 mm bolts on it. To get at them, you'll need a 10 mm deep well socket, extensions and a universal joint-3/8" drive worked best for me. Either dip the socket in grease or use a telescoping magnet to retain those bolts-one is actually a nut and not a bolt.
Before you do this, there is a 10 mm screw-best removed from inside the van. In the top photo, I tried to point at it with a screwdriver, but didn't get a great photo of it. To remove, you will need a 10 mm racheting wrench. You will also need a telescoping magnet to catch this.
![Image]()
Front of bracket:
![Image]()
Okay, you're finally ready to pull out the ignition coil. There is a wiring harness attached to another part on the ignition coil bracket-remove it.
![Image]()
Unless the bracket has bolts or screws, it's riveted. Secure the whole thing in something like a vise and drill out the rivets-once you have one end out, you can tap them out with a small screwdriver or something.
![Image]()
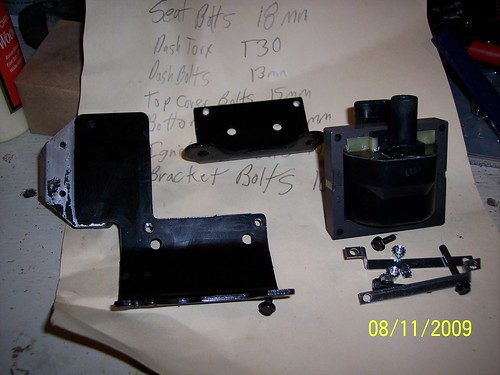
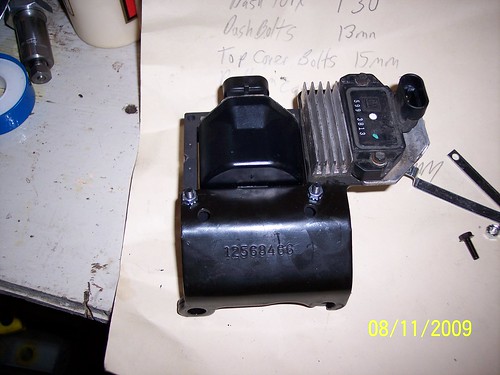
You'll need to reassemble the bracket onto the new ignition coil.
![Image]()
![Image]()
Once done, re-install the same way it was removed.
TIP: As you've no doubt figured out, human hands don't reach many of the places you need to go to re-install bolts. You'll need to hold bolts and nuts in a socket, often connected to extensions and/or universal joints. One way to keep bolts in a socket is to dip the end of the socket in grease. Another is to try to position the nuts or bolts using a telescoping magnet. You take a chance either way. I prefer the grease method.
If anyone more experienced has other tips, or notices anything I might have missed, please reply to this post and give them.
Start by removing the engine cover, as shown in one of my previous posts, found here: http://www.astrosafari.com/viewtopic.php?f=9&t=4079
Once you have that off, your ignition coil is located here:
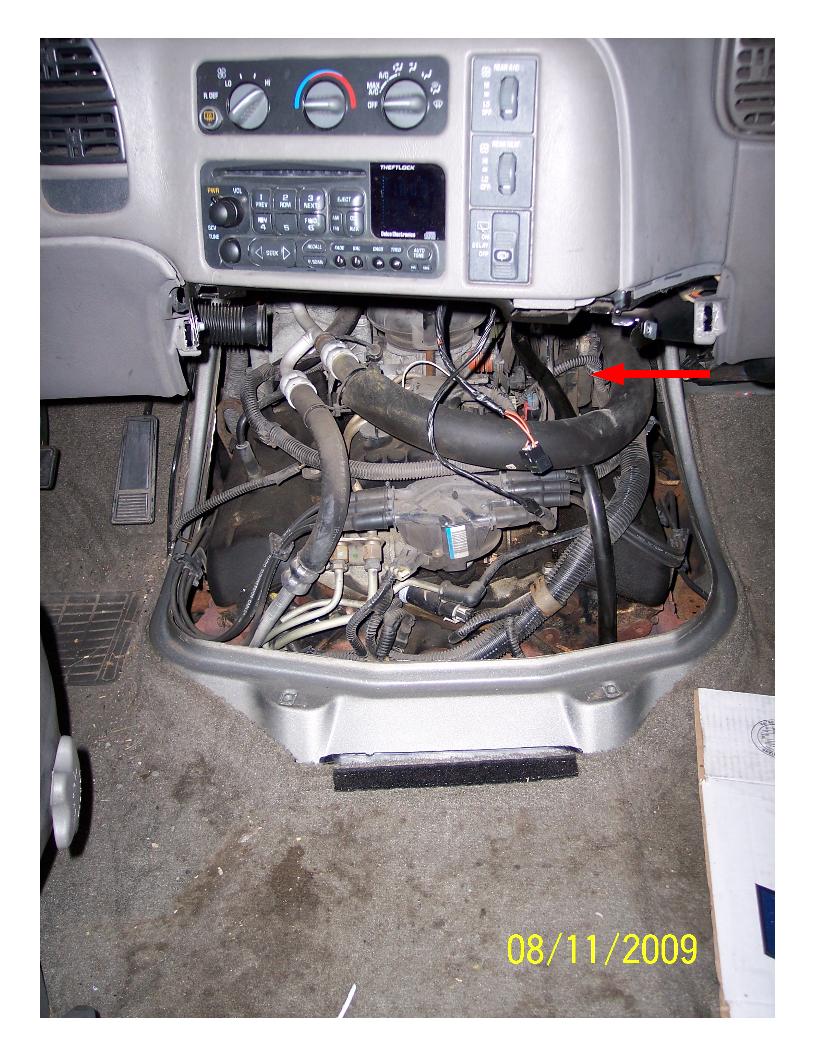
It looks inaccessible, but it isn't. The ignition coil is kind of tucked in there, but it can be gotten out. The ignition coil is contained in a bracket that has another component attached, and is bolted to top of the motor. There may be another bracket holding it down-we'll cover that later.
Start by removing the insulated wire, as shown (note: replacement wire should be obtained from a spark plug wire kit.)
Next remove the wire harness on the other side of the ignition coil.

The ignition coil bracket is held on by 2 - 10 mm bolts. To remove them you'll need a deep well 3/8" drive or 1/4" drive socket with one or two short to medium sized extensions. I could not give good pictures of these bolts. They are in a straight line going from the passenger compartment toward the front of the van. Note the location of the one closest to you by the position of the socket and extensions. If you look closely, just at the edge of the ignition coil shadow you'll see the second one appearing to be under the coil-it's not, it's just on the other side, toward the front of the van...
TIP: Use a telescoping magnet at the bottom of your socket to catch the bolts as they come out-if you don't know what I'm talking about, it's something like this one: http://shop.advanceautoparts.com/we...s/stores/servlet/product_TELESCOPING-MAGNET-Ampro_9021426-P_N3499_T|GRP2083____
Alternatively, dip your socket in all purpose grease before slipping it over the bolts. If your lucky, the bolts will stick inside when you pull the socket out.

If you're incredibly unlucky-I was-there will be a bracket still holding it. If not, scroll down to the part where it comes out.
If you are so unlucky, remove the air intake assembly, as shown in one of my previous posts, found here: http://www.astrosafari.com/viewtopic.php?f=9&t=1142
Below are photos of that bracket I was telling you about (taken from inside and outside the van. There are two 10 mm bolts on it. To get at them, you'll need a 10 mm deep well socket, extensions and a universal joint-3/8" drive worked best for me. Either dip the socket in grease or use a telescoping magnet to retain those bolts-one is actually a nut and not a bolt.
Before you do this, there is a 10 mm screw-best removed from inside the van. In the top photo, I tried to point at it with a screwdriver, but didn't get a great photo of it. To remove, you will need a 10 mm racheting wrench. You will also need a telescoping magnet to catch this.
Front of bracket:
Okay, you're finally ready to pull out the ignition coil. There is a wiring harness attached to another part on the ignition coil bracket-remove it.
Unless the bracket has bolts or screws, it's riveted. Secure the whole thing in something like a vise and drill out the rivets-once you have one end out, you can tap them out with a small screwdriver or something.

You'll need to reassemble the bracket onto the new ignition coil.
Once done, re-install the same way it was removed.
TIP: As you've no doubt figured out, human hands don't reach many of the places you need to go to re-install bolts. You'll need to hold bolts and nuts in a socket, often connected to extensions and/or universal joints. One way to keep bolts in a socket is to dip the end of the socket in grease. Another is to try to position the nuts or bolts using a telescoping magnet. You take a chance either way. I prefer the grease method.
If anyone more experienced has other tips, or notices anything I might have missed, please reply to this post and give them.
")


