
Hey all! I thought of instead of doing the standard intro where I say, "im a noob and I like turtles'', post some convoluted first post and then don't post again for 6 months because I wanted to show off how I changed my air filter. I thought I would make this as painless as possible and post my intro and my build thread in the same place.
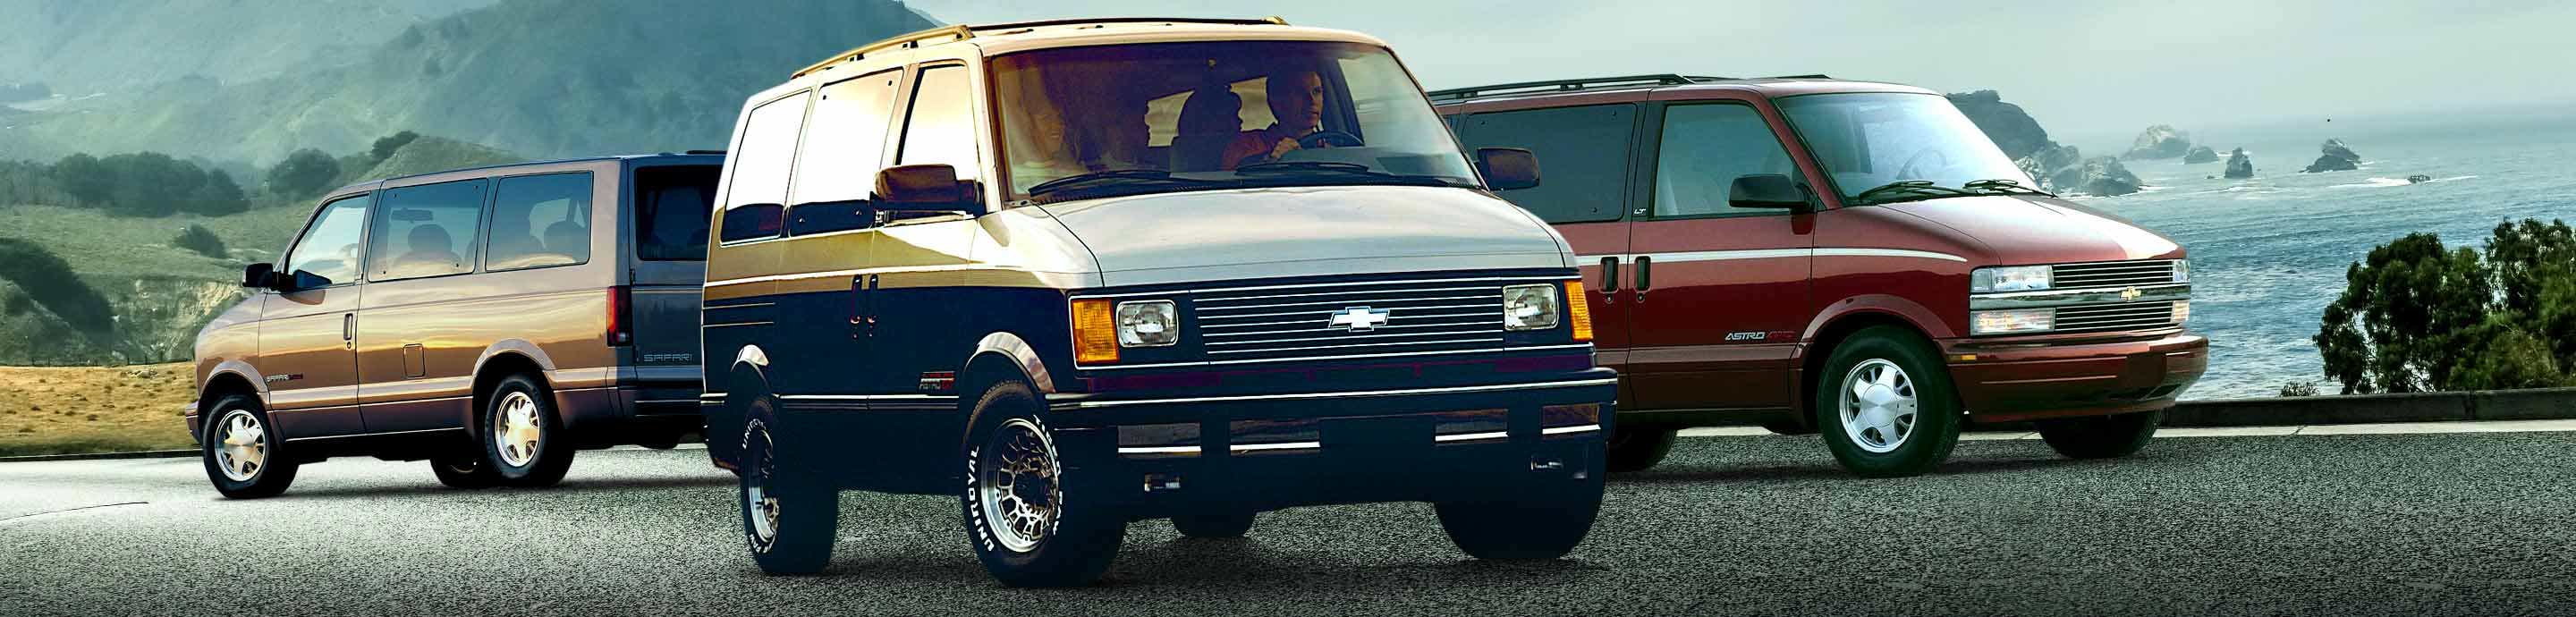
Long story made medium length, I am a Master Technician at Nissan and have been a tech for about 10 years. Someone traded in an awd Astro and before the dealership gets to put them on the lot to sell I get to drive the cars and fix them up and whatnot. When I saw what I was driving in my head I was, "oh great... another crappy van''.
But by the time I was done I had 180 flipped my opinion of the van. And was impressed with the roominess, power, and AWD off-road capabilities. I have built MANY cars in my years of wrenching and so naturally, my mind started wondering...I stumbled across this site... and within 4 months my wife and I bought a bone stock 2000 awd Astro with leaking dutch door seals for a great deal.
Unbeknownst to either of us, we had both secretly dreamed of camperizing a van and driving down to central America (like 2 guys 1 van). And living in central Oregon offroading and Overlanding is very popular. So we sold our faithful Subaru outback and never looked back.
So let the upgrading and modifying begin:
Already done-
Camperization:
There aren't a whole lot of before pictures(because everyone knows what a stock astro looks like). But here are what she has looked like through this transformation.
![Image]()
![Image]()
![Image]()
![Image]()
![Image]()
![Image]()
![Image]()
![Image]()
![Image]()
![Image]()
![Image]()
![Image]()
![Image]()
![Image]()
 .
.
![Image]()
![Image]()
![Image]()
![Image]()
![Image]()
![Image]()
![Image]()
![Image]()
![Image]()
![Image]()
![Image]()
![Image]()
![Image]()
![Image]()
![Image]()
![Image]()
![Image]()


![Image]()
![Image]()
![Image]()
![Image]()
![Image]()
![Image]()
![Image]()
![Image]()
![Image]()
![Image]()
![Image]()
![Image]()
![Image]()
![Image]()
![Image]()
![Image]()
![Image]()
![Image]()
![Image]()
![Image]()
![Image]()
![Image]()
![Image]()
![Image]()
![Image]()
![Image]()
![Image]()
![Image]()
![Image]()
![Image]()
![Image]()
![Image]()
![Image]()
![Image]()
![Image]()
![Image]()
![Image]()
![Image]()
![Image]()
![Image]()
![Image]()
![Image]()
![Image]()

Consider yourself photo bombed, Lumpy style. Hope you enjoyed it. We have had our van on the road for about a year now and it's been a crazy trip. Let's keep those miles coming
Long story made medium length, I am a Master Technician at Nissan and have been a tech for about 10 years. Someone traded in an awd Astro and before the dealership gets to put them on the lot to sell I get to drive the cars and fix them up and whatnot. When I saw what I was driving in my head I was, "oh great... another crappy van''.
But by the time I was done I had 180 flipped my opinion of the van. And was impressed with the roominess, power, and AWD off-road capabilities. I have built MANY cars in my years of wrenching and so naturally, my mind started wondering...I stumbled across this site... and within 4 months my wife and I bought a bone stock 2000 awd Astro with leaking dutch door seals for a great deal.
Unbeknownst to either of us, we had both secretly dreamed of camperizing a van and driving down to central America (like 2 guys 1 van). And living in central Oregon offroading and Overlanding is very popular. So we sold our faithful Subaru outback and never looked back.
So let the upgrading and modifying begin:
Already done-
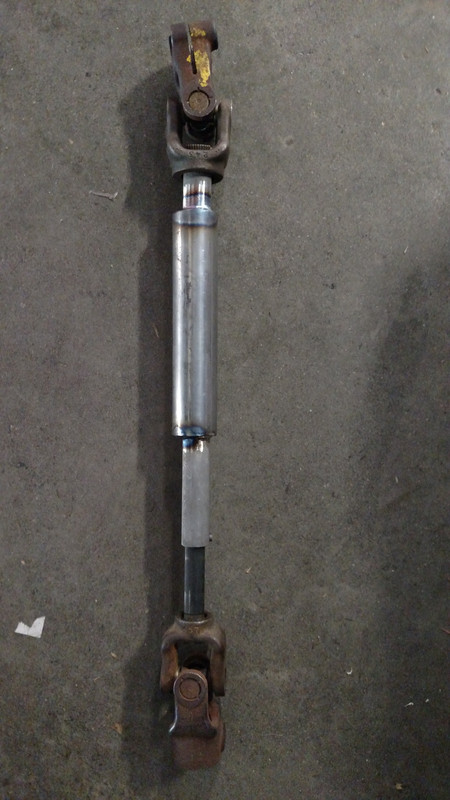
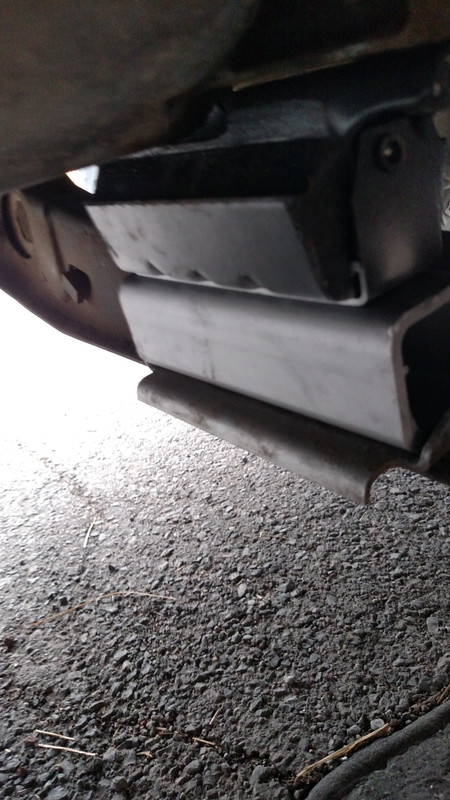
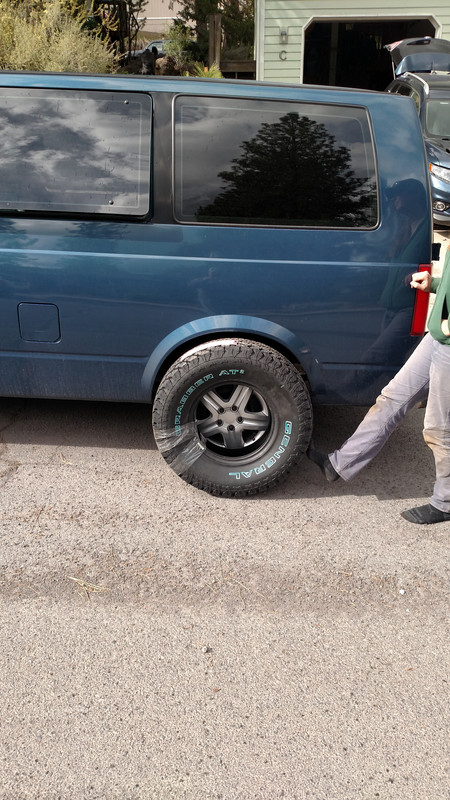
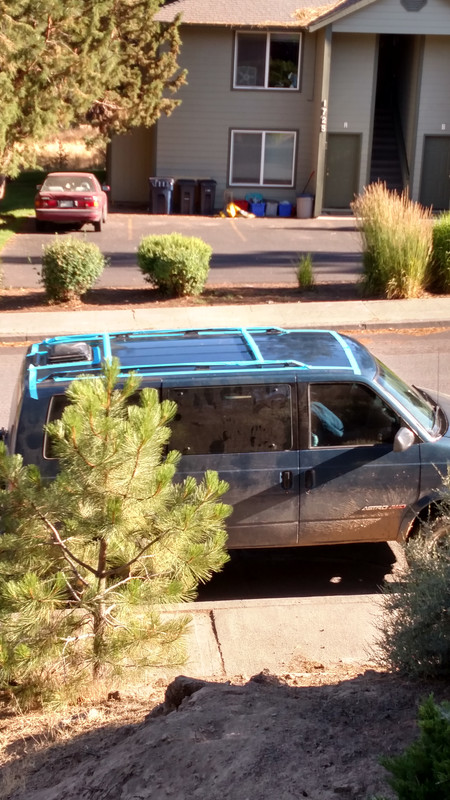
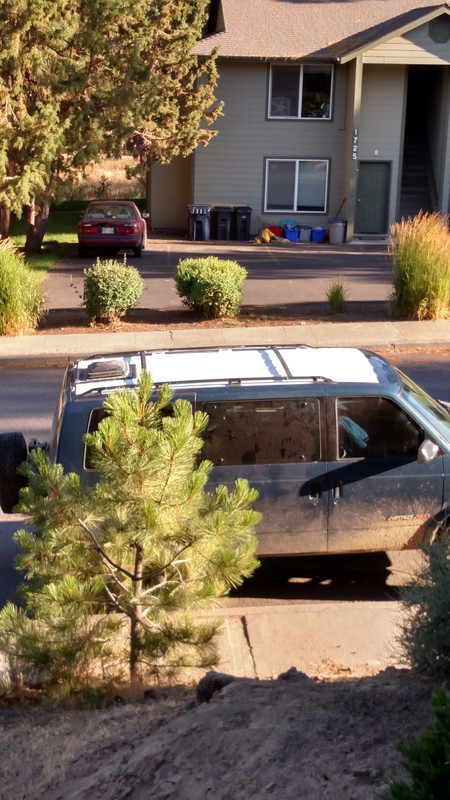
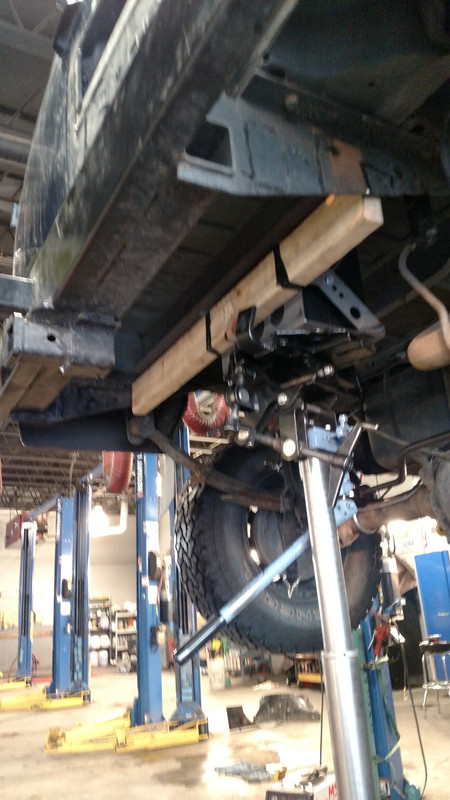
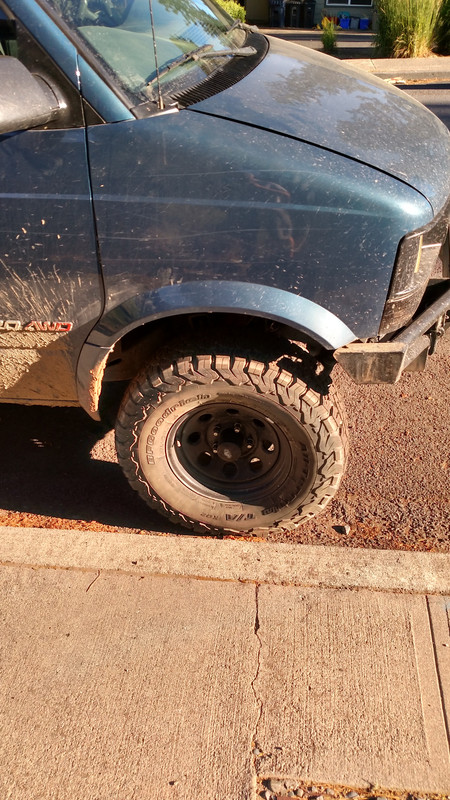
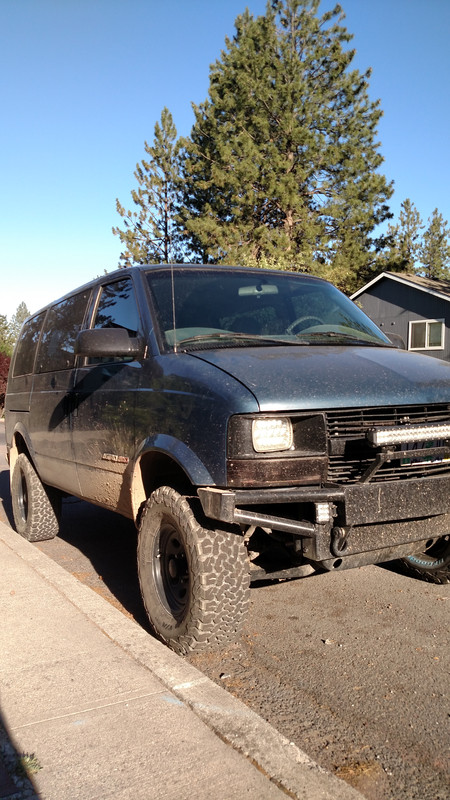
- DIY 7'' lift- S-10 springs, adjustable rear shackles and adjustable rear spring hanger, 4-inch body lift, reindexed torsion bar keys, extended steering shaft, and extended rear brake line
- 2-inch drive train lift
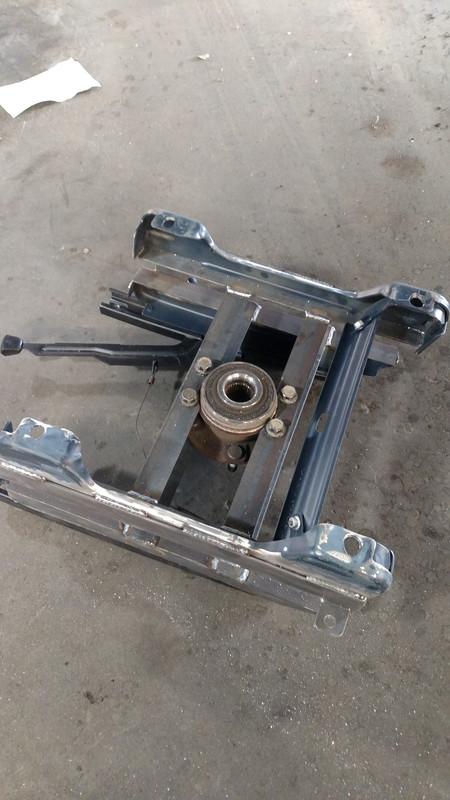
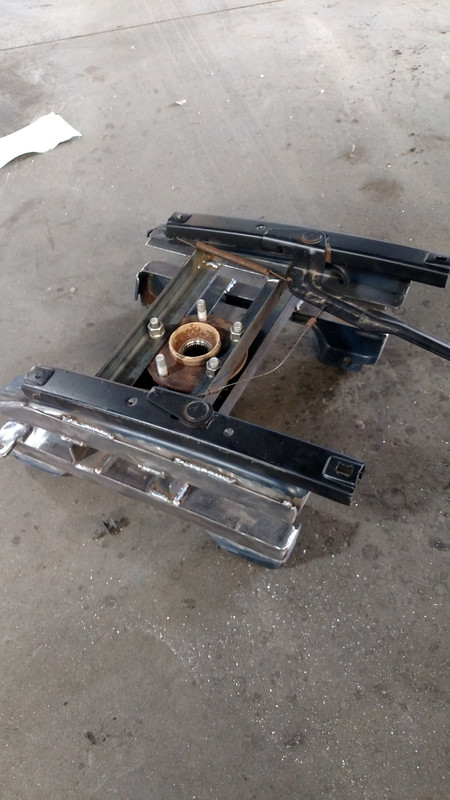
- NP233c 4x4 transfer case swap with manual linkage
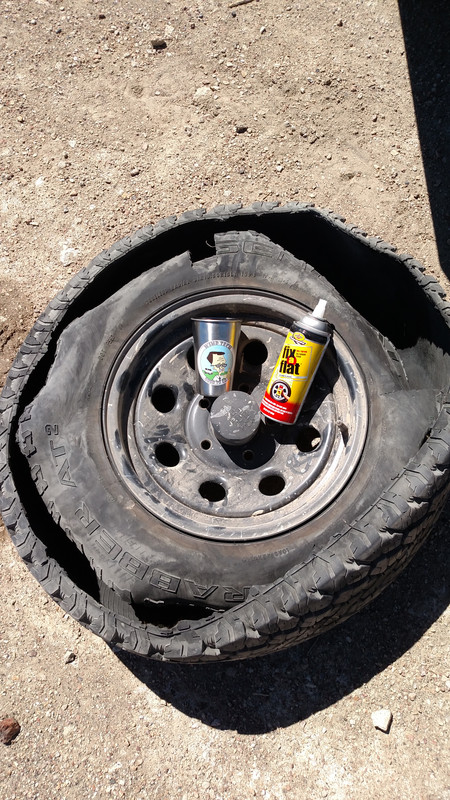
- 31x10.5x15 BFG K02's
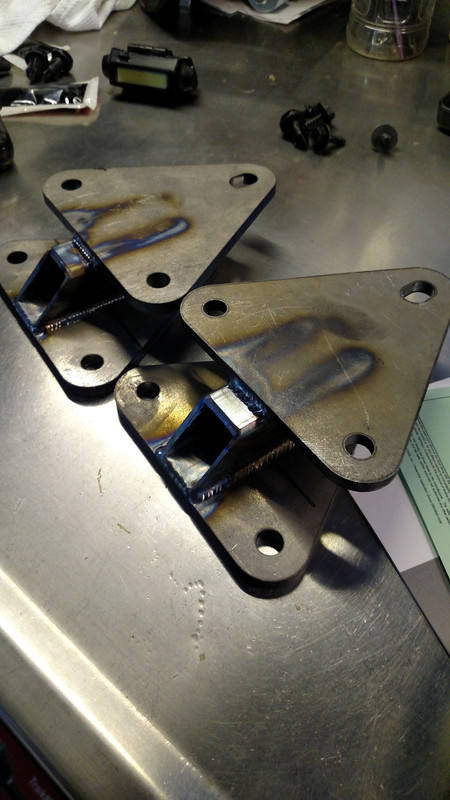
- Rear U-Bolt flip kit
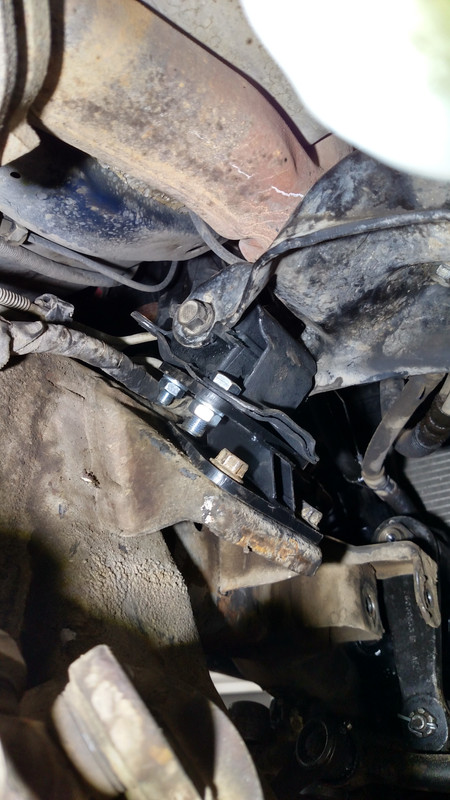
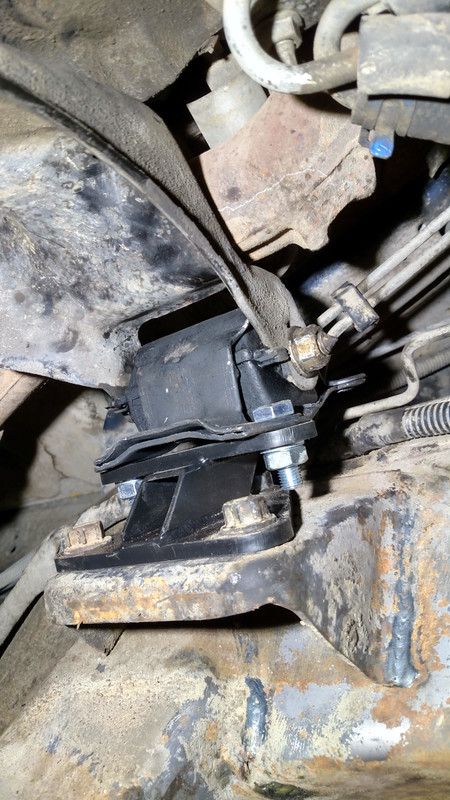
- Nissan Titan Bilstein rear shocks with rear shock mounts relocated
- Flipped control arm ball joints
- Skip White distributor
- MSD ignition coil
- LED Headlights
- LED light bar and light pods
- All new Moog steering and suspension components
- Red Head Steering gear
- Eaton Detroit Truetrac
- Custom front bumper
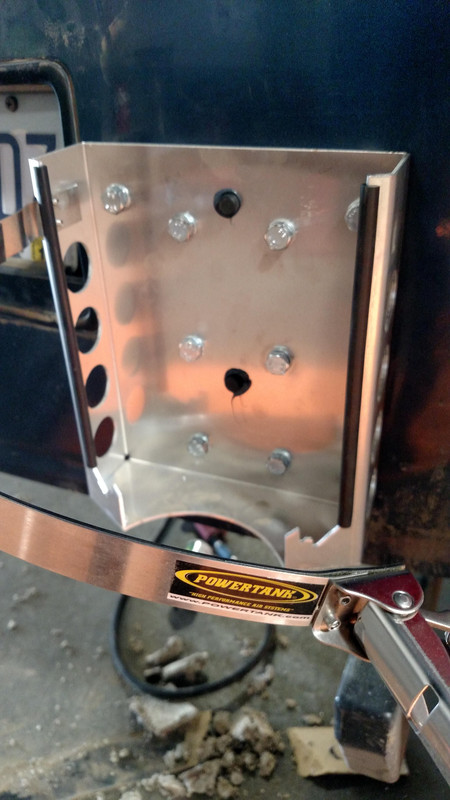
- Custom rear bumper with swing-out spare tire carrier with 2 5-gallon jerry cans and full-size spare
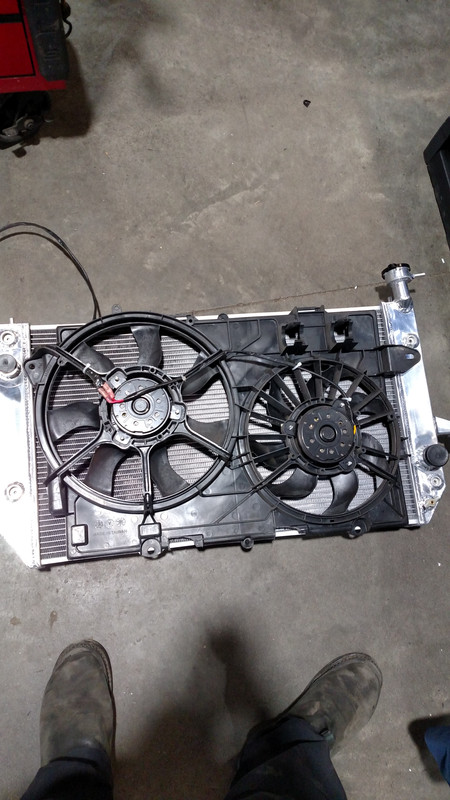
- 3 row all aluminum radiator with Equinox e-fan
- Hellwig rear sway bar
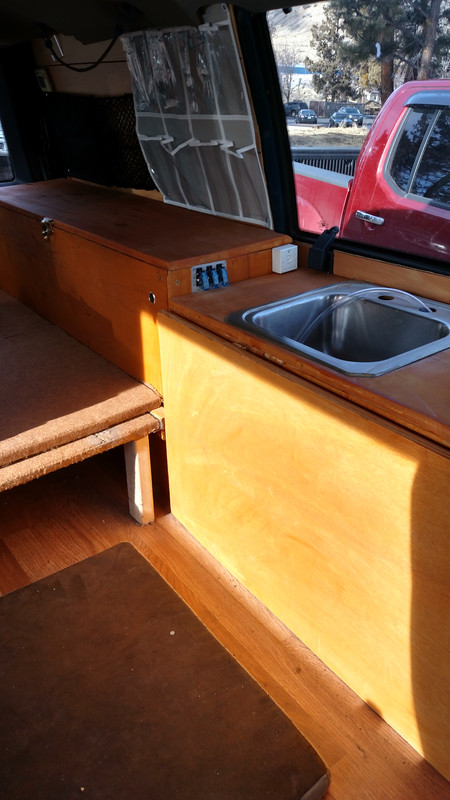
Camperization:
- LED interior lights
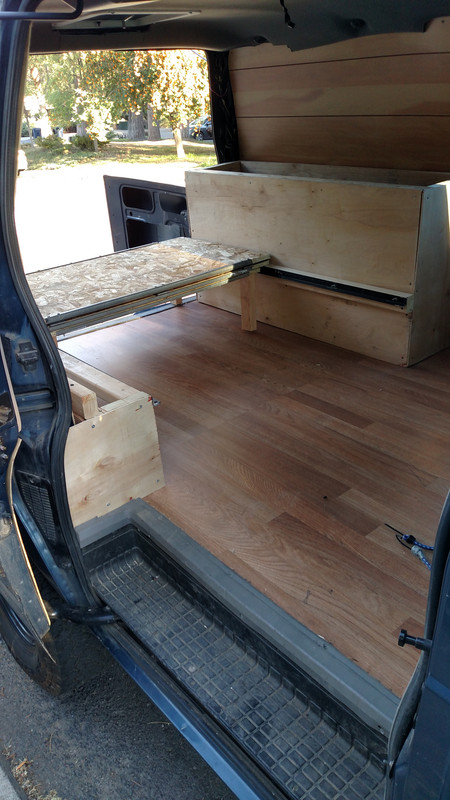
- Bed platform
- Cabinets/kitchenette with sink
- Hardwood floors
- Roof vent
- Wood walls with reflectix and insulation
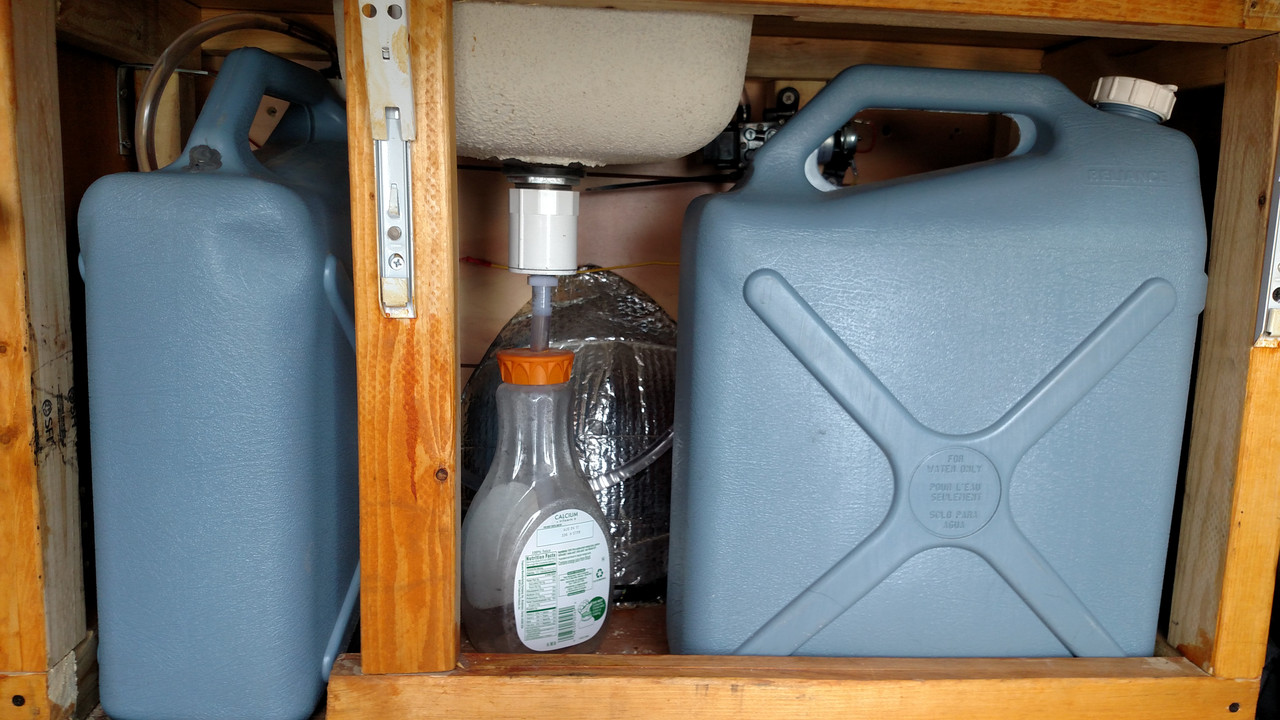
- 12 gallons on board fresh water storage
- 2 6v golf cart battery pack
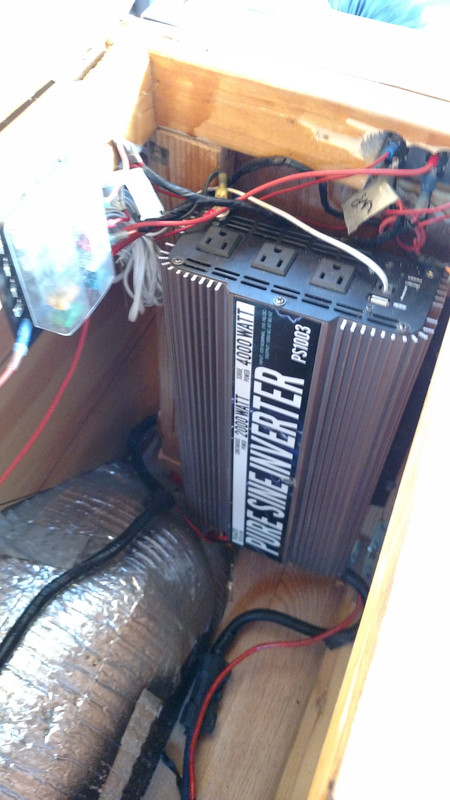
- 2000 watt 4000 peak pure sine wave inverter
- Awning
- Swivel seat
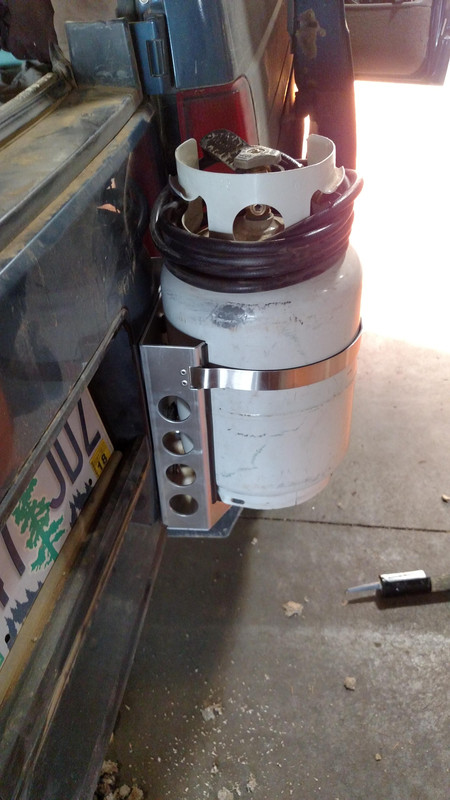
- On board propane
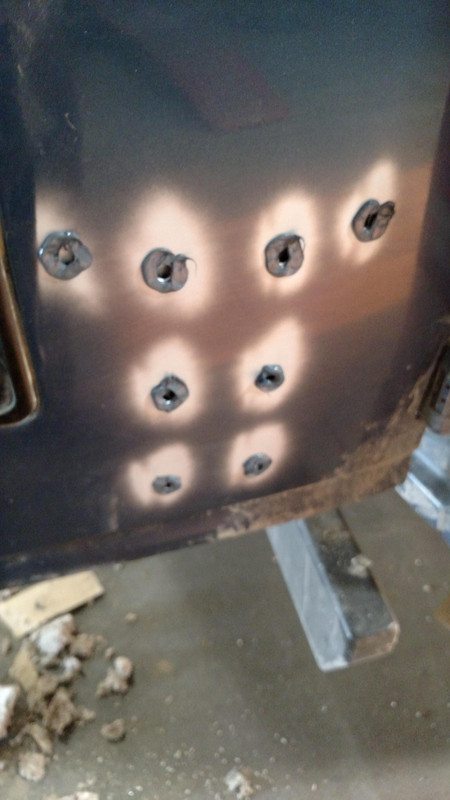
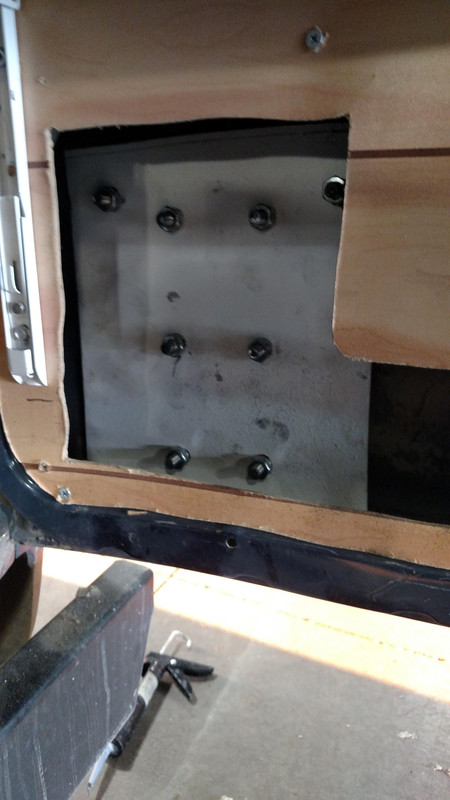
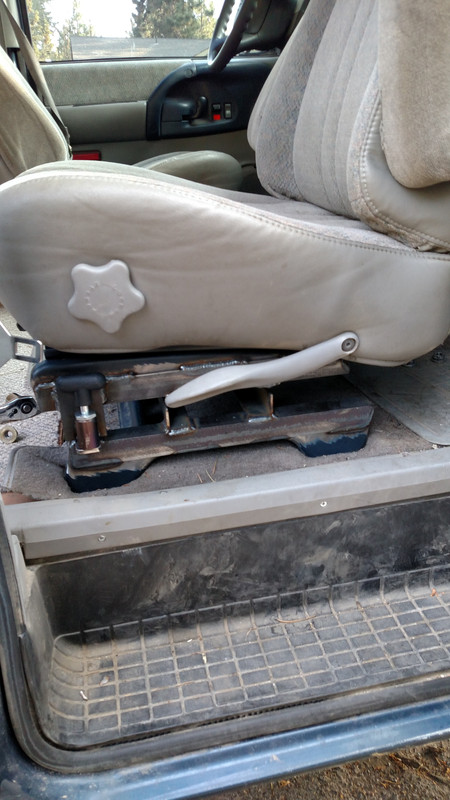
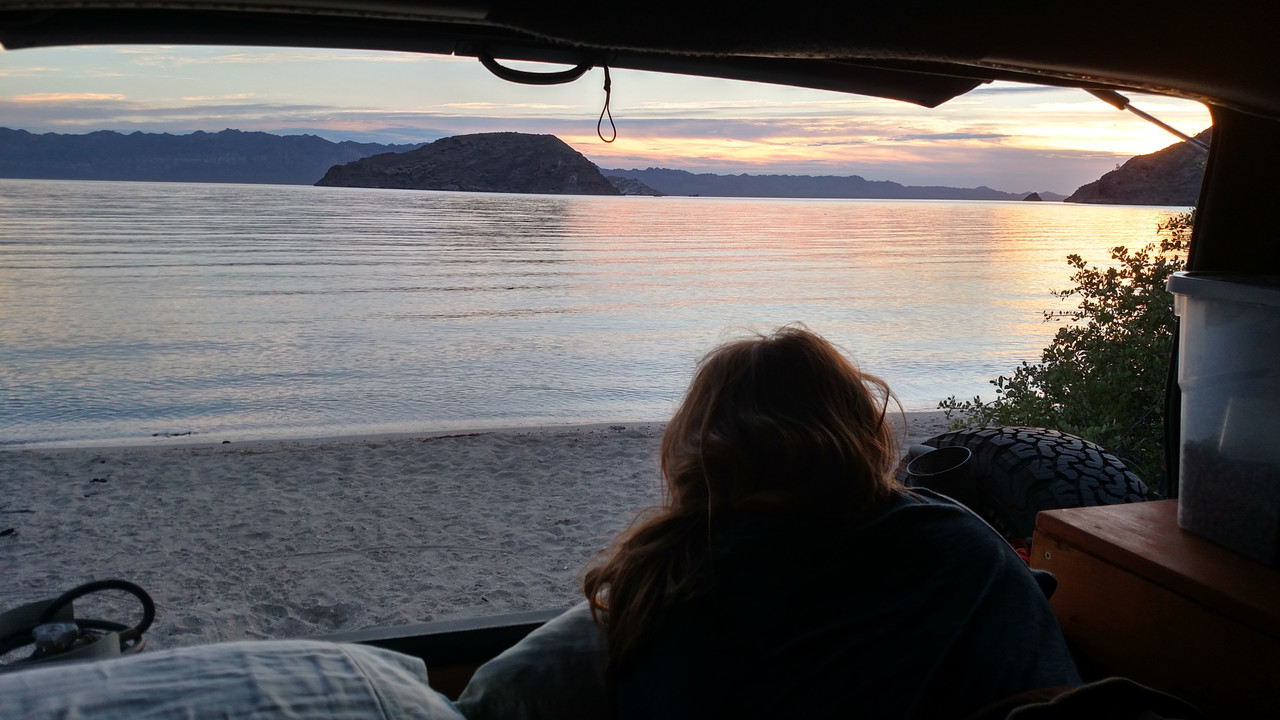
There aren't a whole lot of before pictures(because everyone knows what a stock astro looks like). But here are what she has looked like through this transformation.
.jpg)
.jpg)
.jpg)
.jpg)
.jpg)
.jpg)
.jpg)
.jpg)
.jpg)
.jpg)
.jpg)
.jpg) .
..jpg)
.jpg)
.jpg)
.jpg)
.jpg)
.jpg)
.jpg)
.jpg)
.jpg)
.jpg)
.jpg)
.jpg)
.jpg)
.jpg)
.jpg)
.jpg)
.jpg)
.jpg)
.jpg)
.jpg)
.jpg)
.jpg)
.jpg)
.jpg)
.jpg)
.jpg)
.jpg)
.jpg)
.jpg)
.jpg)
.jpg)
.jpg)
.jpg)
.jpg)
.jpg)
.jpg)
.jpg)
.jpg)
.jpg)
.jpg)
.jpg)
.jpg)
.jpg)
.jpg)
.jpg)
.jpg)
.jpg)
.jpg)
.jpg)
.jpg)
.jpg)
.jpg)
.jpg)
.jpg)
Consider yourself photo bombed, Lumpy style. Hope you enjoyed it. We have had our van on the road for about a year now and it's been a crazy trip. Let's keep those miles coming


.jpg)


